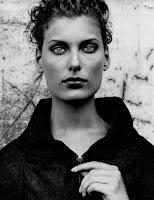
1. Black and White
I started off by creating an adjustment layer under the "Black and White" tab. I then brought the blue down to -53 and the red to -111 to create a dark and spooky effect.
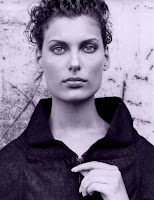
2. Black and White with Tint
I again brought up a Black and White adjustment layer. I brought the "yellow" down to a -9 and then added a tint. I changed the color of the tint to a pale lavender for a softer, entrancing look.
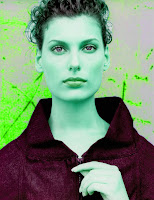
3. Model and Background- Different Colors
I used the Magnetic lasso tool to select the model and then used the eraser tool to refine the selection. I then, while the model is selected, created an adjustment layer for Hue/Saturation. I changed the hue to +116 which gave the model an outer-worldly cyan glow. I then inversed the selection to change the background. I changed the hue to +59 to get the lime green and also increased the lightness.

4. Gradient Blur- center sharp, edge blurred
To blur I just selected the Blur Tool, made the brush large, and hardness to only 4%. I continuously blurred the background and edges until the model really "popped".
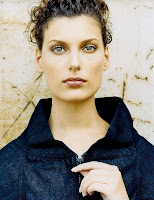
5. Sharpening
Under "Filters" and then "Sharpen" I used the Smart Sharpen tool and raised it to %150
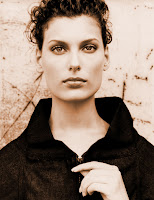
6. Old Looking Image
Started off by going into "Blur" under "Filter" and adding a Gaussian Blur. I then went back to "Filter" and "Add Noise" to about %40. I changed the blending mode under "Layers" to a "Soft Light". I went into "Hue/Saturation", clicked "Colorize", and then brought the hue up to a warm yellow-red and increased the saturation and lightness.
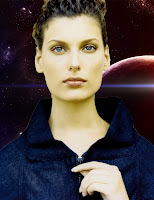 7. Change the Background
I began by using the Magnetic lasso tool to select the model, used the eraser to make it more refined, then inversed the selection. I then brought up by new background image in a new window and selected the whole background. I copied the selection and used "Fill" to fill the selection around the model. Finally I used the blur tool to try and soften the edges.
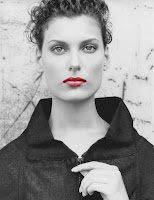
8. Choice
I selected the model's lips using the lasso tool and adding red-purple color to them by cutting out the selection, moving it to a different layer and then lowering the saturation on the original layer to -100 and the lightness up to +12. I the
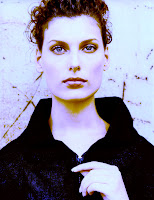 n used the "Smudge" tool to soften the edges.
9. Choice
I went under the "Photo Filter" tab, added the "Underwater" filter, then raised the saturation. I then created a "Color Balance" layer, raised the levels of blue and magenta of the Highlights. Under shadows, I raised the levels of red and yellow to create a surreal effect.
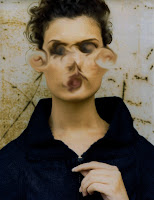
10. Choice
I used a size 25 "Smudge" brush to annihilate her face into a expressionism's cartoon because I was tired of looking at her model's proportions. I then went into "Brightness / Contrast and raised the Contrast to 70 and lowered the brightness to turn her into something grotesque. I then used a less intense "Smudge" tool to soften the rest of the model's edges.
HI Kacie:
ReplyDeleteMarks for photoshop:
#1 A- very good
#2 A- some unevenness between the mountains and the sky.
#3 A excellent