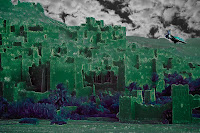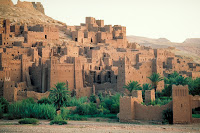
In my first recreation I edited in a new sky using the magic wand tool as well as the plane. I replaced a single green hue in the bushes with a bright cyan color. I also replaced an orange color in the building with a deep purple. I also decreased the brightness of the background image while heightening the contrast. At this point I felt the plane looked very out of place and decided to replace it's bright colors with neutral greens instead.
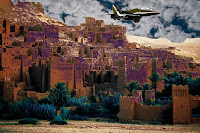
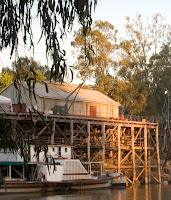
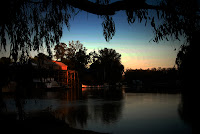
In my second recreation I once again started by editing in sky but using the other given image this time while still using the magic wand tool. I brought up both the brightness and contrast in the background image. I then replaced the color of light shadows by changing the hue and saturation to give the image a lighter-orange feel. I then edited in the plane using the magic wand tool again but this time made it much smaller and flipped the direction. I then replaced the colors on the plane to softer warm colors. I then replaced one of the bright greens in the bushes, greatly deepened its saturation, and increased lightness.
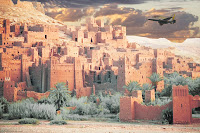
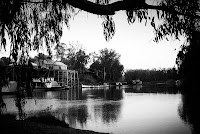
For my last recreation I edited in the first sky I used again, but I then turned it black and white. I edited in the plan again and added a rough pastel filter to it and replaced the colors once again to a cyan. I added Glowing Edges to the background image and set the fade to 57%. I then used the magic wand tool to only select the buildings and added the glass effect as well. I then went into color replace, selected one of the middle greens in the bushes and increased both the hue and saturation.
